IPTV USA Explained: The Ultimate Beginner's Guide
Key Takeaways
- IPTV USA explained: IPTV streams TV channels over your internet connection — no cable wire, no satellite dish required.
- Getting started requires only a broadband connection, a streaming device, a subscription, and a free IPTV app.
- Quality IPTV providers offer 10,000+ channels including all major US networks, sports, and international content for $10–$30/month.
- Always use a 24–48 hour free trial to test a provider's stream quality before committing to a paid subscription.
- The setup process takes most beginners under 30 minutes from account creation to watching live TV.
IPTV USA explained simply: instead of paying a cable company to run a wire to your house and charge you $80–$130/month for channels you mostly don't watch, IPTV sends those same channels — plus thousands more — over the broadband internet connection you already have. You watch on your TV, phone, tablet, or laptop. You pay $10–$30/month instead of $80–$130. You cancel anytime, no contract required.
That's the core of it. This beginner's guide walks through everything you need to know to get started with IPTV in the United States, from zero knowledge to your first live channel in under an hour.
What Is IPTV? Start Here If You're New
IPTV stands for Internet Protocol Television. The "Internet Protocol" refers to the technical standard used to transmit data across the internet — the same one that makes web browsing and video calling work. IPTV simply applies that technology to television delivery.
When you watch cable TV, your cable company pushes a continuous signal through a coaxial cable into your home. Your cable box decodes that signal. You pay for this infrastructure — the wires, the boxes, the trucks, the technicians — every month as part of your bill.
With IPTV, your provider streams channels directly to your device over the internet. There's no infrastructure at your location beyond a router and a streaming device you already own (or can buy for $30–$50). The provider handles all the server technology on their end.
The practical result: More channels, more flexibility, dramatically lower cost.
For a deeper technical explanation, see our guide on what is IPTV and how it works in the USA.
What IPTV Includes: The Three Content Types
When you subscribe to an IPTV service, you typically get access to three types of content:
1. Live TV Channels
The live channel lineup is the core of any IPTV service. Quality US-focused providers offer:
- All major US broadcast networks (ABC, NBC, CBS, FOX, PBS)
- US cable news (CNN, Fox News, MSNBC, CNBC)
- US sports channels (ESPN, ESPN2, FS1, TNT Sports)
- Premium movie channels (some providers)
- International channels (Spanish, Arabic, Hindi, French, Portuguese, and dozens more)
- Specialty channels (cooking, travel, kids, documentary)
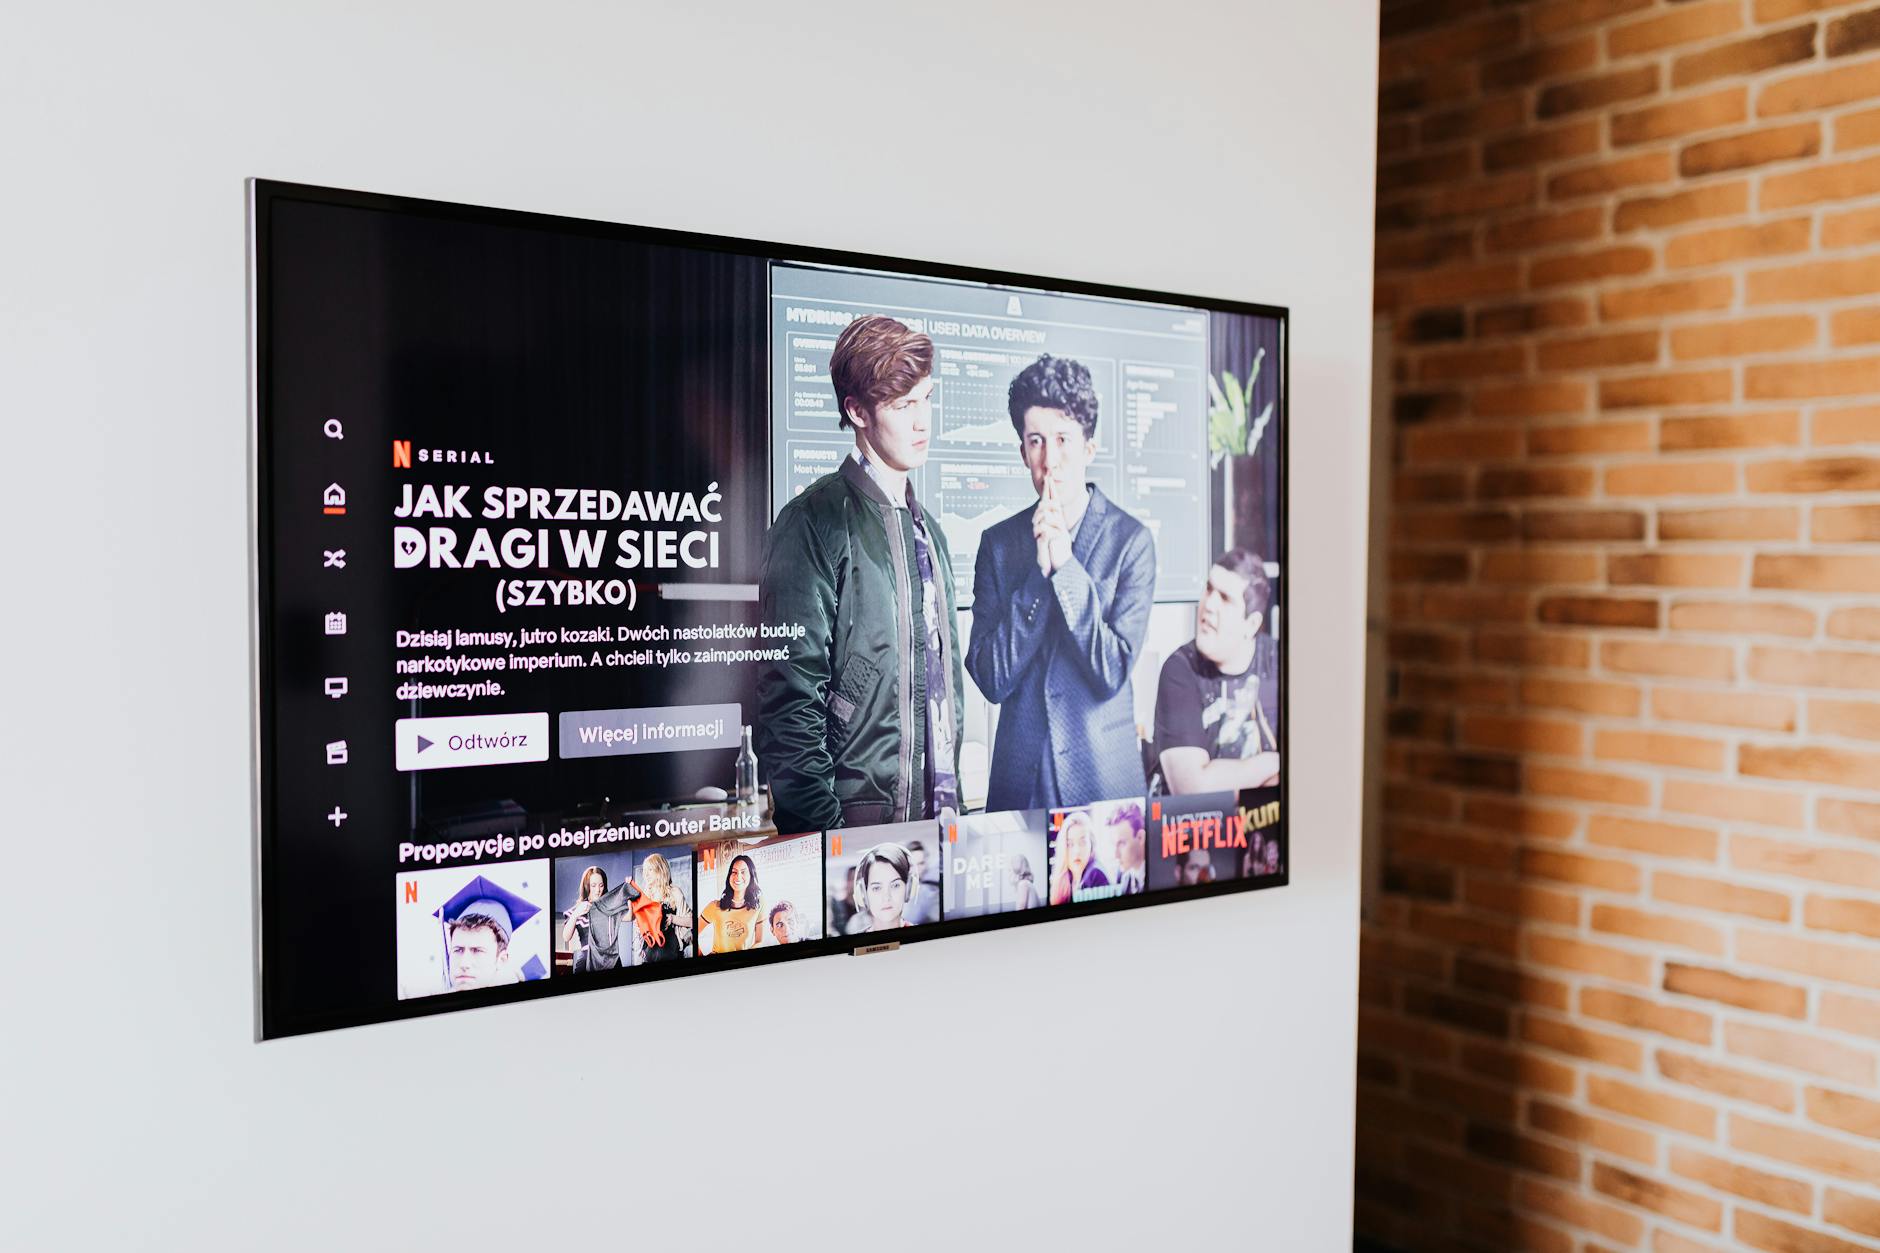
Live channels come with an Electronic Program Guide (EPG) — an on-screen schedule showing what's on now and what's coming up, similar to the guide you used on cable.
2. Video on Demand (VOD)
A VOD library contains movies and TV series you can watch anytime. Many IPTV subscriptions include VOD libraries of 10,000–100,000+ titles. Think of it as a Netflix-style library bundled into your TV subscription.
3. Catch-Up TV (Time-Shifted TV)
Catch-up lets you watch programming from the past 7–30 days. Missed a game? Watch it the next morning. Missed a news broadcast? Watch it on your lunch break. Not all providers offer catch-up TV, but the best ones do.
What You Need: A Beginner's Checklist
Starting with IPTV requires just four things:
1. A Broadband Internet Connection
Your internet must be fast enough to stream video without interruption. The minimums:
- HD (1080p): 15–25 Mbps download
- 4K: 50+ Mbps download
- Multiple TVs simultaneously: Multiply by number of screens
The average US home internet speed is 242 Mbps (Ookla, Q3 2024), meaning most Americans already have more than enough speed. If you're on DSL with 10–15 Mbps, you may experience occasional buffering on HD streams.
2. A Streaming Device
You need a way to run IPTV apps on your TV. Your options:
| Device | Cost | Best For | |---|---|---| | Amazon Fire TV Stick 4K | $49.99 | Best all-around for IPTV | | Amazon Fire TV Stick (basic) | $29.99 | Budget option, HD streaming | | Roku Express+ | $39.99 | Simple interface, OTA antenna port | | NVIDIA SHIELD TV | $149.99 | Power users, 4K HDR, gaming | | Android TV Box (Formuler, BuzzTV) | $80–$150 | IPTV-optimized hardware | | Smart TV (Samsung, LG, Sony) | Already own | No extra device needed | | Smartphone/Tablet | Already own | Portable viewing |
If you already own a smart TV from the last 3–4 years, check if it supports Android TV apps or has an app store — you may not need any additional hardware.
3. An IPTV Subscription
This is the service that provides your channels. We'll cover how to choose one in the next section.
4. An IPTV App
Free apps that run on your streaming device to connect to your IPTV subscription:
| App | Platforms | Best For | Cost | |---|---|---|---| | TiviMate | Android TV, Fire TV | Best EPG experience | Free (premium $5/yr) | | IPTV Smarters Pro | iOS, Android, Fire TV, PC | Beginner-friendly | Free | | GSE Smart IPTV | iOS, Android | iPhone/iPad users | Free (paid features) | | Perfect Player | Android, PC | Lightweight option | Free | | VLC Media Player | PC, Mac, Linux, mobile | Basic playback | Free |
For most beginners on Fire TV or Android TV, TiviMate (for the best EPG) or IPTV Smarters Pro (for the simplest setup) are the top recommendations.
How to Choose an IPTV Provider: The 7-Point Checklist
This is where most beginners go wrong — choosing a provider based on price alone and ending up with an unreliable service. Here's what to evaluate:
1. Channel Selection
Verify the provider carries your specific must-watch channels. Don't assume — ask for a channel list or browse their demo. The key channels to check:
- Your local ABC, NBC, CBS, FOX affiliates
- Your preferred sports networks (ESPN, regional sports networks)
- Any specific international or specialty channels you need
2. Stream Reliability
Reliability is the most important factor. A provider with 5,000 channels that buffers constantly is worse than one with 2,000 channels that works flawlessly. Look for:
- Advertised uptime of 99.9% or higher
- User reviews mentioning stability (check Reddit communities like r/IPTV)
- A trial period so you can test before paying
3. Video Quality
Check whether the provider offers true 1080p streams (not upscaled 720p labeled as 1080p). Better providers offer multi-bitrate streams that automatically adjust to your connection speed.
4. Customer Support
What happens when something stops working? Good providers offer:
- 24/7 live chat or quick-response ticket system
- Active community forum or Discord
- Clear documentation
5. Free Trial
Reputable providers offer 24–48 hour free trials. This is a non-negotiable evaluation tool. If a provider won't let you test before paying, be cautious.
6. Simultaneous Connections
How many devices can you use at once? Most households need at least 2 simultaneous connections (living room TV + bedroom TV). Premium providers offer 3–5 connection plans.
7. Pricing and Plans
Reasonable IPTV pricing (2026):
| Plan Length | Expected Cost Range | |---|---| | Monthly | $15–$30/month | | 3-month | $12–$20/month equivalent | | 6-month | $10–$16/month equivalent | | Annual | $8–$12/month equivalent |
Be skeptical of services charging under $8/month — ultra-low pricing often signals an unlicensed, unreliable service. See our vetted recommendations at top 5 IPTV providers in the USA.
Step-by-Step Setup Guide for Fire TV Stick (Most Common Setup)
The Amazon Fire TV Stick is the most popular IPTV device in the USA due to its low cost, ease of use, and broad app availability. Here's the complete setup:
Phase 1: Set Up Your Fire TV Stick
- Plug the Fire TV Stick into your TV's HDMI port
- Connect to power via USB adapter
- Switch your TV to the correct HDMI input
- Follow Fire TV's on-screen setup (Wi-Fi connection, Amazon account sign-in)
- Complete software updates if prompted
Phase 2: Enable Apps from Unknown Sources
IPTV apps like TiviMate aren't in the official Amazon App Store, so you need to enable sideloading:
- On Fire TV: Go to Settings → My Fire TV → Developer Options
- Enable Apps from Unknown Sources
- Enable ADB Debugging (useful for app installation)
Phase 3: Install Downloader App
Downloader is a free app in the Amazon App Store that lets you install apps from external sources:
- From the Fire TV home screen, search for "Downloader"
- Install the Downloader app (it's free and official)
Phase 4: Install Your IPTV App
To install IPTV Smarters Pro:
- Open Downloader
- Enter:
https://www.iptvsmarters.com/smarters.apk(or current download URL) - Download and install the APK
To install TiviMate (via Aptoide TV or direct APK):
- Open Downloader
- Enter the TiviMate APK URL (available from the official TiviMate website)
- Download and install
Phase 5: Connect to Your IPTV Subscription
- Open IPTV Smarters Pro (or TiviMate)
- Select "Add Playlist" or "Add Account"
- Choose Xtream Codes API if your provider gave you: hostname, username, password
- OR choose M3U URL if your provider gave you a playlist link
- Enter your credentials exactly as provided
- The app will load your channel list (this may take 30–60 seconds)
Phase 6: Start Watching
- Browse channels in the Live TV section
- Explore the VOD library for movies and series
- Check Catch-Up (if available) for recent programming
- Set up your Favorites list for quick access to channels you watch most
IPTV on Other Devices
iPhone/iPad (iOS)
Install GSE Smart IPTV or IPTV Smarters Pro from the Apple App Store. Enter your M3U URL or Xtream Codes credentials. iOS IPTV apps require App Store availability — both GSE and Smarters are officially listed.
Android Phone/Tablet
Install IPTV Smarters Pro, TiviMate (for Android TV version), or GSE Smart IPTV from the Google Play Store. Android allows direct APK installation without enabling unknown sources for most apps.
Smart TV (Samsung Tizen OS)
Samsung smart TVs use Tizen OS. Compatible apps are limited to what's available in the Samsung Smart Hub. SS IPTV and Smart IPTV apps support M3U playlists on Samsung TVs.
Smart TV (LG webOS)
LG uses webOS. The Smartify app and SS IPTV work on LG Smart TVs via the LG Content Store.
PC/Mac
Install VLC Media Player (free, open source) and open your M3U playlist URL directly. For a better experience, Kodi with the PVR IPTV Simple Client add-on provides a full EPG and VOD interface.
For a comprehensive multi-device setup guide, see how to set up IPTV on any device.
Common Beginner Mistakes to Avoid
Mistake 1: Not testing with a trial first Never pay for a full subscription before testing. A 24-hour trial tells you everything you need to know about stream quality for your location and internet connection.
Mistake 2: Using Wi-Fi for 4K streams Wi-Fi interference is the leading cause of IPTV buffering. Use an Ethernet cable wherever possible, especially for your primary TV. A $15 powerline adapter (TP-Link AV600) can send Ethernet through your home's electrical wiring if running a cable isn't feasible.
Mistake 3: Choosing based on price alone $8/month IPTV services are almost always unlicensed and unreliable. Paying $20/month for a quality, reliable service saves you the frustration of buffering, dropped streams, and disappearing channels.
Mistake 4: Forgetting the EPG Without an EPG (channel guide), live TV IPTV feels frustrating and disorganized. Make sure your provider includes EPG data and that your app displays it correctly. TiviMate's EPG is significantly superior to most alternatives.
Mistake 5: Not checking simultaneous connection limits If you have two TVs and both want to watch different channels at the same time, you need a 2-connection plan. Check this before subscribing.
Pro Tip: Start your IPTV journey with a monthly subscription rather than committing to an annual plan. Monthly plans cost slightly more but give you the flexibility to switch providers if you discover the service doesn't meet your expectations after a few weeks. Once you've verified reliability over 2–3 months, switch to an annual plan for significant savings.
Understanding Your IPTV Bill vs. Cable Bill
Here's what the financial comparison actually looks like for a typical US household:
| Expense | Cable Setup | IPTV Setup | |---|---|---| | TV service | $89/month | $20/month | | DVR rental | $15/month | $0 (app-based) | | Extra box | $10/month | $0 | | Broadcast TV fee | $21/month | $0 | | RSN fee | $9/month | $0 | | Monthly subtotal | $144/month | $20/month | | Annual hardware (amortized) | $0 | $6/month (Fire Stick) | | True monthly total | $144 | $26 | | Annual savings with IPTV | — | $1,416 |
Is IPTV Right for You?
IPTV works well for you if:
- You have a reliable home internet connection of 25+ Mbps
- You're comfortable installing an app and entering credentials
- You watch live TV including sports, news, or live events
- You want to reduce your monthly TV bill significantly
- You want to watch on multiple devices or while traveling
IPTV may not be the best fit if:
- Your internet connection is unreliable or slow
- You prefer a fully managed setup where a technician handles everything
- You watch mostly on-demand content (Netflix alternatives may be a better primary service)
- You're in an area with frequent internet outages
Wrapping Up
IPTV in the USA has matured from a niche technical workaround into a mainstream, beginner-accessible TV solution that genuinely delivers more for less. The setup is straightforward, the savings are real, and the content selection — particularly for live TV, sports, and international programming — is often superior to what cable provides.
Start by reading about what is IPTV and how it works in the USA to solidify your understanding, then check our top 5 IPTV providers in the USA for vetted service recommendations. Your first live channel over IPTV is likely less than an hour away.
Frequently Asked Questions
What do I need to get started with IPTV in the USA?▾
You need four things: a broadband internet connection (25+ Mbps), a compatible streaming device (Fire Stick, Roku, Android TV box, or smart TV), an IPTV subscription from a provider, and an IPTV app installed on your device. Total setup cost is typically $0–$80 plus your monthly subscription.
How do I choose an IPTV provider in the USA?▾
Evaluate providers on five criteria: channel selection (does it carry your must-have channels?), stream reliability (uptime, buffering frequency), customer support responsiveness, trial availability, and pricing. Always request a 24–48 hour trial before paying.
Is IPTV difficult to set up for beginners?▾
No. Most IPTV setups take under 30 minutes. You install an IPTV app, enter the credentials your provider emails you, and start watching. The process is comparable in complexity to setting up a Netflix account.
Ready to cut the cord?
Try IPTV US — 10,000+ Channels from $6.99/mo
HD & 4K streaming, sports, movies, and live TV on any device. No contracts. Free trial available.
View Plans & PricingDigital Entertainment Writer
James covers the business and consumer side of streaming — provider reviews, pricing comparisons, sports broadcasting rights, and the legal landscape of internet TV in the United States. With a background in media journalism, he brings clarity to complex topics like IPTV legality, sports streaming rights, and the ongoing shift away from traditional pay TV.
Comments
Comments are coming soon. Have a question? Contact us.
Related Articles
The Ultimate Streaming Guide for USA Cord Cutters (2026)
The complete streaming guide USA 2026 for cord cutters: compare IPTV, OTT, and free streaming options plus a savings calculator to cut your cable bill.

Smart IPTV: The Future of Home Entertainment in 2026
Smart IPTV home entertainment is redefining TV in 2026 — AI recommendations, voice control, smart TV integration, and IoT ecosystems creating the living room of the future.
How IPTV Is Enhancing Home Entertainment in the USA
Discover how IPTV home entertainment USA is being transformed — from 4K HDR home theater setups and multi-room streaming to smart home integration and whole-home IPTV.